
Introduction
If you lose your NEM Nano Wallet configuration in your client due to any reason (system crash, accidentally purge, etc.) there is still an easy way to restore your client wallet and gain access again to your account. For this blogpost, I will use a wallet on the NEM testnet, however the same steps work for NEM mainnet wallets. After reading this might add to the consensus how important it is to securely backup your password and private key after creating your wallet.

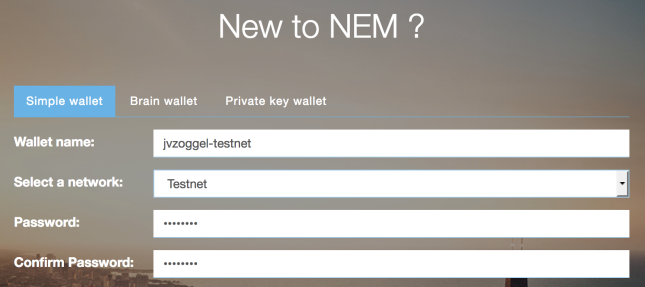
When creating your wallet, you received 4 important parts of information
- your password entered during the creation
- the .wlt file
- a text-string containing the raw wallet text string
- your secret private key
With a combination of these, or in extreme measures the secret private key, you can restore your wallet in different ways.
Option 1 – import the .wlt file
The easiest solution would be re-import the .wlt NanoWallet file. By default, your browser will automatically download the .wlt file to its default download location on your machine when the wallet is created. You should always make a secure backup (as instructed during creation) of this file in a safe place for moments like this. Click on the Import Wallet button to browse to the folder where the file is located. You should see a notification in the top-right corner then the process succeeded and the wallet should be available again in the “Wallet name:” pulldown menu.
Option 2 – restore the .wlt file manually
If you don’t have a backup of your .wlt file but made a copy of the raw wallet file text-string during the creation process you can manually restore the .wlt file. The .wlt file is nothing more than a text file containing your raw wallet string. So use a text-editor on Windows like Notepad or Notepad++ or the nano / vi editor on OS X / Linux to create a new .wlt file and paste the raw wallet text-string in the document and save. Make sure your file has the .wlt extension otherwise the NanoWallet won’t accept it when you perform the steps from Option 1 mentioned above here.
Option 3 – use your private key
With the might of the private key you can always restore your wallet. In the NanoWallet menu click SIGN UP and select the private Key wallet option. You can select any new Wallet name and/or new password, however the secret(!) Private Key is what identifies your account as unique and allows its recovery. When you enter the private key in the text-box the NanoWallet will automatically detect add show the Account address. In the example TC7WGJ-E5MX4D-ZTESBY-DVHLOH-ZVXEOD-J2XR3T-EUFU which is my personal testnet wallet which contains some free testnet NEM from the Testnet Faucet. Donations are welcome by the way, I still need some testnet NEM for my Testnet Supernode. 😉

After creating your private key wallet, you can now select the restored wallet in the LOGIN section. Select the restored wallet in the pulldown, use the new password and login your account. The account shows my (test) NEM and we are back on track.

Summary
With either one of these options you can always restore your NanoWallet account and get access to your NEM account.
- the .wlt file + password
- the raw wallet key string + password
- the private key
That’s also the main reason you should securely store away this information when creating it.
Hope it helps.

